Building an MVP in 7 Days: Day 1

In the last post, I outlined the project overview and walked through some of the anticipated features and reasoned through some of the technical decisions. Now it’s time to get building.
Today, I want to accomplish:
- initial project setup, including git / GitHub
- installing Django and initializing project
- setting up custom
Usermodel - setting up Tailwind and DaisyUI
- getting a very basic landing page up and running
That doesn’t seem like a whole lot, but it’s definitely enough for the first day. A good foundation means I will be able to move fast tomorrow and the coming days.
Initial project setup
To get started, let’s initialize a blank git repo:
# /home/user/Projects

mkdir quirehub && cd quirehub
git init
git remote set-url origin git@github.com:bradleyburgess/quirehub.git
This initializes a blank git repo and sets the origin remote to the repo on
GitHub. (There are simpler ways of doing this, like through the GitHub CLI.)
Now let’s add a sensible .gitignore. Here’s one I
found which is
very comprehensive for Python, and probably way overkill for our needs. Let’s
add a README.md as well.
touch README.md .gitignoreThat’s enough for now! Let’s push to GitHub:
git add README.me .gitignore
git commit -m "Initial commit"
git push -u origin main
This will add the files to staging, create our first commit with “Initial
commit” as the commit message, and push the changes to GitHub — but first
setting the current local branch (main) to track the origin remote’s main
branch. (Remember, we added the origina remote earlier.)
Initializing the virtualenv and Django project
Alright, let’s get going with initializing our Python virtual environment and
installing Django. A virtual environment is not strictly needed, but it is
definitely best practice. There are other alternatives to using the built-in
venv module, like Poetry, but we’ll just keep things simple.
# in the project root directory:

python3 -m venv .venv       # creates the virtual environment at .venv/
source .venv/bin/activate   # activates the virtual environment by sourcing the shell sript
pip install django          # installs Django from the PyPI repository
django-admin --version      # check that django was installed correctly
If all went well, we should see something like:
(.venv) ➜  quirehub git:(main) django-admin --version
5.2
Now, the last step is to use the wonderful django-admin to create our project:
django-admin startproject quirehub ./This will create a blank Django project called “quirehub” in the current
directory (./). And, we can see exactly that by inspecting the contents of our
project directory with tree:
(.venv) ➜  quirehub git:(main) ✗ tree ./
.
├── LICENSE
├── manage.py
├── quirehub
│   ├── asgi.py
│   ├── __init__.py
│   ├── settings.py
│   ├── urls.py
│   └── wsgi.py
└── README.md

2 directories, 8 files
I’m a believer in commiting often, so let’s commit this to git:
git add .
git commit -m "Initial Django setup"
git push
Custom User model
One thing that I’ve come across often in Django forums, Reddit, etc. is
questions about User models, especially customizing the model. Some folks want
to add profile data, and — commonly these days — some want to use email
addresses instead of usernames.
Profile data is arguably better implemented by creating a Profile model and then
having a OneToOne relationship with it. This keeps the auth logic separate from the (non-essential) profile data.
Using emails instead of usernames, however, does require implementing your own
model. While it is technically possible to implement a custom User model later
on, it can cause major headaches, especially if you’ve already run migrations
on your database. Even if you don’t plan to have a custom user model at the
start, many consider this best practice. It’s much better to create a custom
user model that simply inherits from the Django built-in user model and passes
than it is to try and implement this in an already-deployed app.
TL;DR: When starting a new Django project, always implement a custom user model, and do it before doing anything else.
There is a really great YouTube video about this process on Code with
Stein’s channel: Custom User Model |
Explore Django. The Django
documentation is really good in general, however I found the section on Custom
Authentication to be a little lacking somehow. Thankfully, the source
code
is a really easy read, and in general my approach with this is to simplpy copy
the Django implementation of AbstractUser and UserManager and extend
AbstractBaseUser and BaseUserManager myself, changing whatever I need.
Usually, this means making email the username field, and skipping username
altogether. I think in today’s age, that is a much better approach.
So, let’s begin by starting a new Django app for our custom user functionality:
python3 manage.py startapp usersAfter that, let’s add the model. We’ll also need to add the manager. I have
simply grabbed the
AbstractUser
and
UserManager
classes from the Django source code and modified them. The thing to notice here
is that I’ve ripped out username altogether, and indicated that email is to
be used as the username field. (Also, make sure you have unique=True on the
email field!)
# users/models.py

from django.db import models
from django.contrib.auth.models import (
    AbstractBaseUser,
    PermissionsMixin,
    BaseUserManager,
)
from django.contrib.auth.hashers import make_password
from django.utils import timezone
from django.core.mail import send_mail


class UserManager(BaseUserManager):
    use_in_migrations = True

    def _create_user_object(self, email, password, **extra_fields):
        if not email:
            raise ValueError("Email must be set")
        email = self.normalize_email(email)
        user = self.model(email=email, **extra_fields)
        user.password = make_password(password)
        return user

    def _create_user(self, email, password, **extra_fields):
        """
        Create and save a user with the given username, email, and password.
        """
        user = self._create_user_object(email, password, **extra_fields)
        user.save(using=self._db)
        return user

    async def _acreate_user(self, email, password, **extra_fields):
        """See _create_user()"""
        user = self._create_user_object(email, password, **extra_fields)
        await user.asave(using=self._db)
        return user

    def create_user(self, email=None, password=None, **extra_fields):
        extra_fields.setdefault("is_staff", False)
        extra_fields.setdefault("is_superuser", False)
        return self._create_user(email, password, **extra_fields)

    create_user.alters_data = True

    async def acreate_user(self, email=None, password=None, **extra_fields):
        extra_fields.setdefault("is_staff", False)
        extra_fields.setdefault("is_superuser", False)
        return await self._acreate_user(email, password, **extra_fields)

    acreate_user.alters_data = True

    def create_superuser(self, email=None, password=None, **extra_fields):
        extra_fields.setdefault("is_staff", True)
        extra_fields.setdefault("is_superuser", True)

        if extra_fields.get("is_staff") is not True:
            raise ValueError("Superuser must have is_staff=True.")
        if extra_fields.get("is_superuser") is not True:
            raise ValueError("Superuser must have is_superuser=True.")

        return self._create_user(email, password, **extra_fields)

    create_superuser.alters_data = True

    async def acreate_superuser(self, email=None, password=None, **extra_fields):
        extra_fields.setdefault("is_staff", True)
        extra_fields.setdefault("is_superuser", True)

        if extra_fields.get("is_staff") is not True:
            raise ValueError("Superuser must have is_staff=True.")
        if extra_fields.get("is_superuser") is not True:
            raise ValueError("Superuser must have is_superuser=True.")

        return await self._acreate_user(email, password, **extra_fields)

    acreate_superuser.alters_data = True


class User(AbstractBaseUser, PermissionsMixin):
    """
    Our custom User model with email instead of username. All fields are required.
    """

    first_name = models.CharField("first name", max_length=150)
    last_name = models.CharField("last name", max_length=150)
    email = models.EmailField("email address", unique=True)
    is_staff = models.BooleanField(
        "staff status",
        default=False,
        help_text="Designates whether the user can log into this admin site.",
    )
    is_active = models.BooleanField(
        "active",
        default=True,
        help_text="Designates whether this user should be treated as active. "
        "Unselect this instead of deleting accounts.",
    )
    date_joined = models.DateTimeField("date joined", default=timezone.now)

    objects = UserManager()

    EMAIL_FIELD = "email"
    USERNAME_FIELD = "email"
    REQUIRED_FIELDS = ["first_name", "last_name"]

    class Meta:
        verbose_name = "user"
        verbose_name_plural = "users"

    def clean(self):
        super().clean()
        self.email = self.__class__.objects.normalize_email(self.email)

    def get_full_name(self):
        """
        Return the first_name plus the last_name, with a space in between.
        """
        return f"{self.first_name.strip()} {self.last_name.strip()}".strip()

    def get_short_name(self):
        """Return the short name for the user."""
        return self.first_name.strip()

    def email_user(self, subject, message, from_email=None, **kwargs):
        """Send an email to this user."""
        send_mail(subject, message, from_email, [self.email], **kwargs)
This is nearly identical to the Django implementationg of AbstractUser and UserManager. All I’ve really done is:
- strip out
usernameentirely - make
first_nameandlast_namerequired
Now we need to make some changes to our settings.py in the quirehub app.
We’ll add users to the list of installed apps, and also point Django to use
our custom User model as the auth user model.
# quirehub/settings.py

CORE_APPS = [
    "django.contrib.admin",
    "django.contrib.auth",
    "django.contrib.contenttypes",
    "django.contrib.sessions",
    "django.contrib.messages",
    "django.contrib.staticfiles",
]

PROJECT_APPS = [
    "users",
]

INSTALLED_APPS = CORE_APPS + PROJECT_APPS

AUTH_USER_MODEL = "users.User"
Finaly, let’s register our custom User model with the admin site:
# users/admin.py

from django.contrib import admin
from .models import User

admin.site.register(User)
That’s it! Now we can make our migrations and migrate our database — and we’ll be all set with our custom User model which uses email instead of username! Let’s also commit this work to git.
python3 manage.py makemigrations
python3 manage.py migrate

git add .
git commit -m "Custom User model"
Setting up Tailwind with Django
Tailwind has changed a lot since v. 4, so I had to read the docs before diving
in with this part of the process.
Because we’re not using a frontend framework (just Django templates and HTMX), we really don’t need Vite, which is the now-recommended way to setup Tailwind with those kinds of projects. That actually makes our lives a little simpler, because getting Vite and Django to play together isn’t straightforward.
Instead, we can simply opt to use the Tailwind CLI. We can setup an npm script
to have Tailwind watch the source files and rebuild the output CSS when we make
changes.
We could technically forego npm entirely, but seeing as I already have it
installed, let’s just go with that:
npm init -y
npm install tailwindcss @tailwindcss/cli
(Let’s also make sure node_modules/ is in our .gitignore!) Now we need to
make our input.css. I know I’m not going to need a tailwind app, so for the
sake of cimplicity, let’s put it there:
// tailwind/input.css

@import "tailwindcss";
@tailwind base;
@tailwind components;
@tailwind utilities;

@source "../**/templates/**/*.{py,html}";
This will import Tailwind, apply all the layers, and make sure it looks in any template files for Tailwind class names.
Now, to make development a little easier, let’s add an npm script to
concurrently run the Tailwild CLI in watch mode and the Django dev server in one
go. This is easier than having two terminals open, and we are pretty much always
going to need them both running at the same time.
npm i -D concurrently// package.json
{
"name": "quirehub",
"version": "1.0.0",
"description": "A Django-powered app for managing choirs",
"scripts": {
"dev:tw": "npx @tailwindcss/cli -i ./tailwind/input.css -o ./static/css/output.css --watch",
"dev:django": "python3 manage.py runserver",
"dev": "concurrently \"npm run dev:tw\" \"npm run dev:django\""
},
"dependencies": {
"@tailwindcss/cli": "^4.1.3",
"tailwindcss": "^4.1.3"
},
"devDependencies": {
"concurrently": "^9.1.2"
}
}concurrently is a nifty little package that will allow you to run two
commands, well, concurrently. Here, I’m specifying to dev: scripts: dev:tw
for the Tailwind CLI, and dev:django for the Django dev server. concurrently
then runs both npm scripts simultaneously. Brilliant! Now when we run the dev
server, we’ll do it with npm run dev instead of the usual Django way.
We are getting there with Tailwind. But now we need to make some changes to our
settings.py again. We’ll need to tell Django where to put the static files.
We’ll also use static storage, which will be essential when we deploy (in six
days’ time!).
# settings.py
# ...

STATIC_URL = "static/"
STATICFILES_STORAGE = "django.contrib.staticfiles.storage.ManifestStaticFilesStorage"
STATIC_ROOT = BASE_DIR / "staticfiles"  # Or wherever you want Django to output all static files
STATICFILES_DIRS = [
    BASE_DIR / "static",  # This is where Tailwind outputs your compiled CSS
]
Alright, let’s commit these changes. I know these seem like small commits, but “adding Tailwind” is definitely a self-contained piece of work and deserves to be it’s own commit. We don’t want that to be lumped with something else.
git add .
git commit -m "Add Tailwind"
Simple landing page
With Tailwind in place, let’s wire up a simple landing page to check that everything is working correctly.
We’ll start with a view:
# quirehub/view.py

from django.views.generic import TemplateView

class HomePage(TemplateView):
    template_name = "quirehub/index.html"
I love Django’s generic / class-based views, because they allow you to implement basic functionality really quickly, without having to wire up everything manually as you have to do with traditional function-based views.
While it’s not a huge amount of effort in this simple case, the same functionality would look like this in a function-based version:
from django.http import HttpRequest, HttpResponse
from django.shortcuts import render

def home_page(request: HttpRequest) -> HttpResponse:
    return render(request, "quirehub/index.html")
While I don’t technically need to import the http types, you can already see
that it’s a little more explicit, requiring handling the request object
yourself. This is obviously not a big deal in this case, but later on, when
dealing with views requiring auth and other more complex logic, class components
really will shine.
With the view in place, we need to update our urls.py so that Django knows
what to do with it:
# quirehub/urls.py

from django.contrib import admin
from django.urls import path
from . import views

urlpatterns = [
    path("admin/", admin.site.urls),
    path("", views.HomePage.as_view(), name="home"),
]
Here we are telling Django to match the empty path (i.e. /) with the
HomePage view.
Next, a basic template. We’ll just implement a very basic page, but we’ll need to hook up Tailwind as well.
{% load static %}
<!DOCTYPE html>
<html lang="en">
  <head>
    <meta charset="UTF-8" />
    <meta name="viewport" content="width=device-width, initial-scale=1.0" />
    <link rel="stylesheet" href="{% static 'css/output.css' %}" />
    <title>Welcome | QuireHub</title>
  </head>
  <body>
    <header class="container">
      <nav>
        <div class="navbar bg-base-100 shadow-sm">
          <div class="flex-1">
            <a href="{% url 'home' %}" class="btn btn-ghost text-xl">QuireHub</a>
          </div>
        </div>
      </nav>
    </header>
    <>
    <h1>Welcome to QuireHub!</h1>
  </body>
</html>
First we tell Django to load our static assets. Without this line, the compiled
CSS won’t be found via the {% static %} template function later on.
Then we also link the compiled stylesheet. We don’t do it directly, we tell
Django to use the static function, which will automatically resolve the path.
And, because we included the static storage earlier on, the file will be hashed
in production. Excellent.
With the view, url matching, and template in place, let’s take a look and see if everything was wired up correctly!
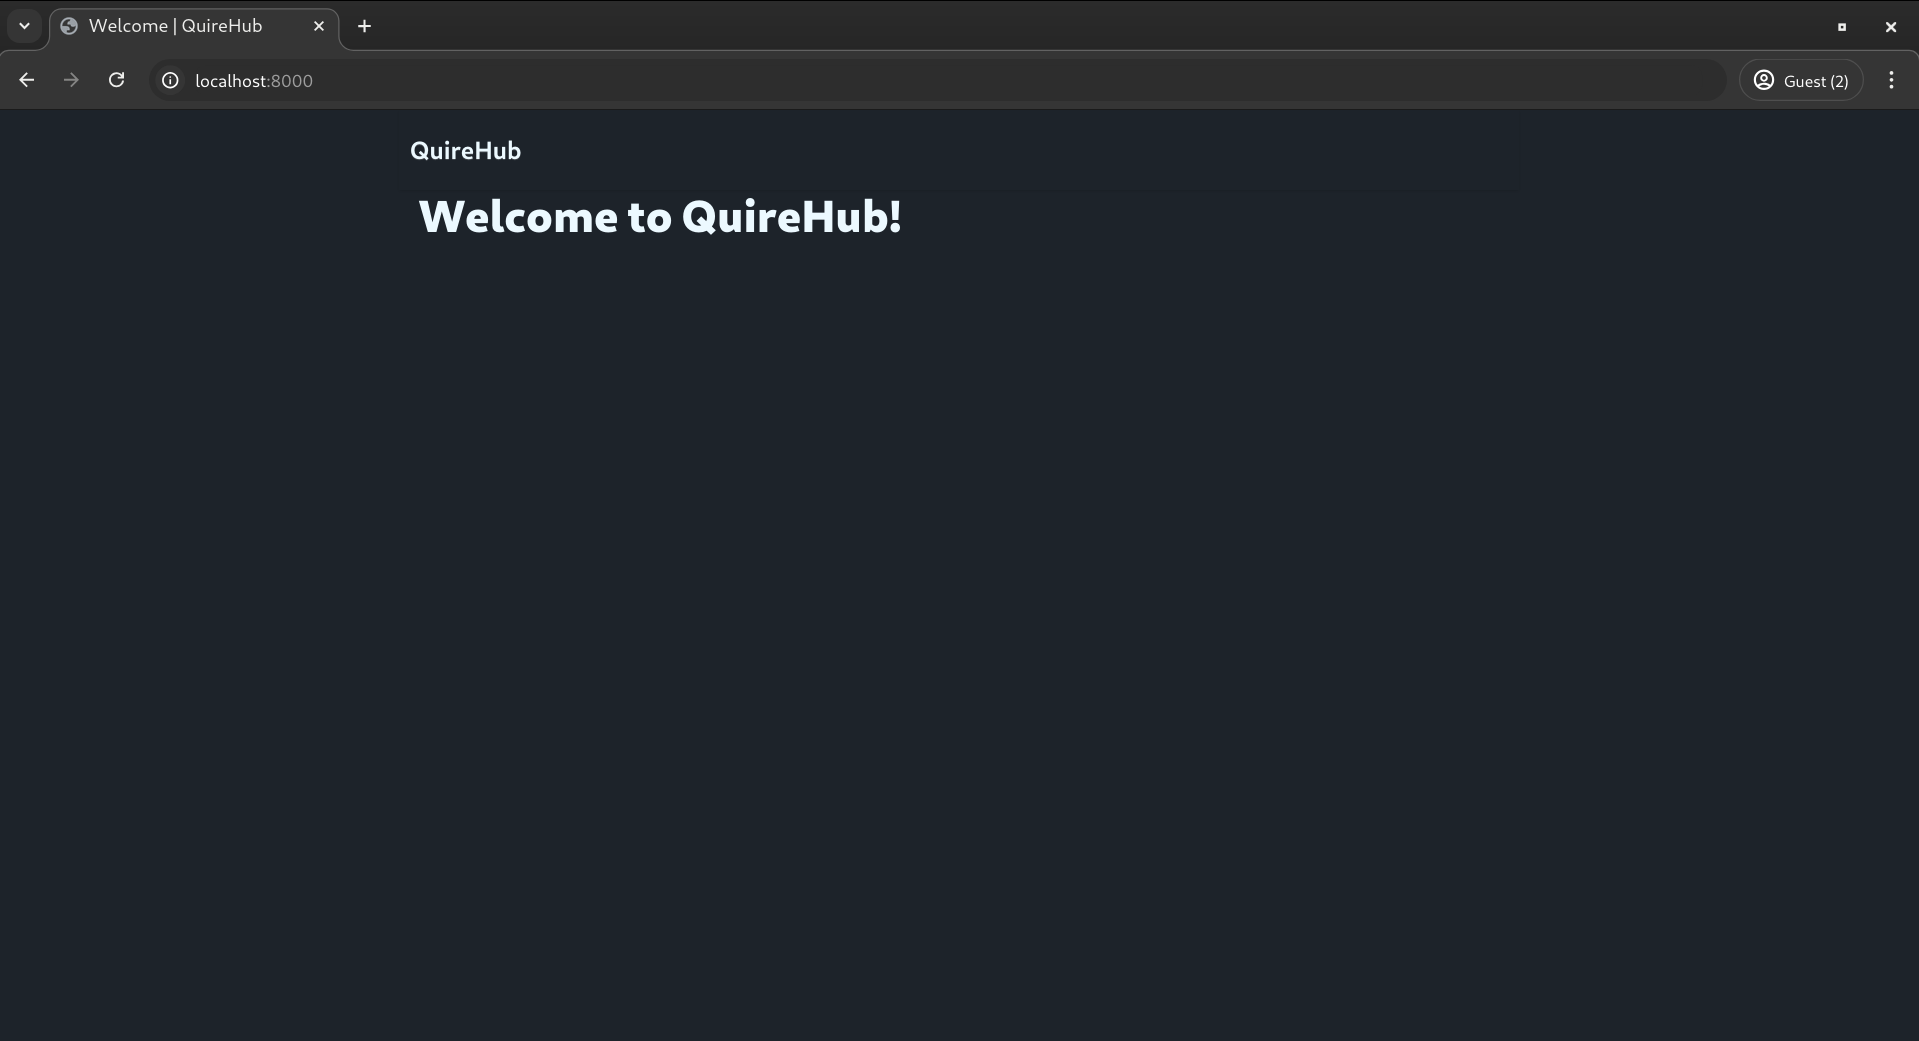
Success! The template rendered correctly, and — thankfully — the Tailwind and DaisyUI styling seems to have been setup correctly. Phew!
Let’s commit these changes, and call it a day! Tomorrow, we’ll take a look at our basic models and try set up auth: account registration and login.